
The four outputs are not forced into fixed width-by-height frames or cropped. Each keeps the source aspect ratio and is reduced only when its long edge exceeds that output's limit. DrowPack does not arbitrarily enlarge a source that is already smaller than the limit.
The actual specifications of all four files
When you click the ZIP button, DrowPack performs the following four operations independently, using the current preview canvas as the source. All four outputs are JPG files, but their long-edge dimensions, quality adjustments, and watermark settings differ according to purpose.
| Filename in the ZIP | Maximum long edge | Quality calculation | Watermark | Recommended use |
|---|---|---|---|---|
artwork_social.jpg | 1600px | Slider value, maximum 98 | None | General social posts and quick sharing |
artwork_portfolio.jpg | 2200px | Slider +2, maximum 99 | None | Portfolio display with finer detail |
artwork_sample_watermark.jpg | 1600px | Slider −4, minimum 82 | DrowPack SAMPLE | Commission and work-sample previews |
artwork_thumbnail.jpg | 600px | Slider −6, minimum 80 | None | Lists, cards, and small previews |
For example, with the default quality of 94, the values sent to the browser's JPG encoder are 0.94 for social, 0.96 for portfolio, 0.90 for sample, and 0.88 for thumbnail. This does not mean a file will be an exact number of megabytes. The final size varies with color variation, noise, transparent-background compositing, and the browser's encoder.
Reproducing all four outputs with the built-in sample
This test uses DrowPack's own built-in /assets/drowpack-output-sample.svg so anyone can repeat it with the same input and settings. The sample is 1200×800px. Set the quality slider to 94, turn high-quality resize on, and create the package.
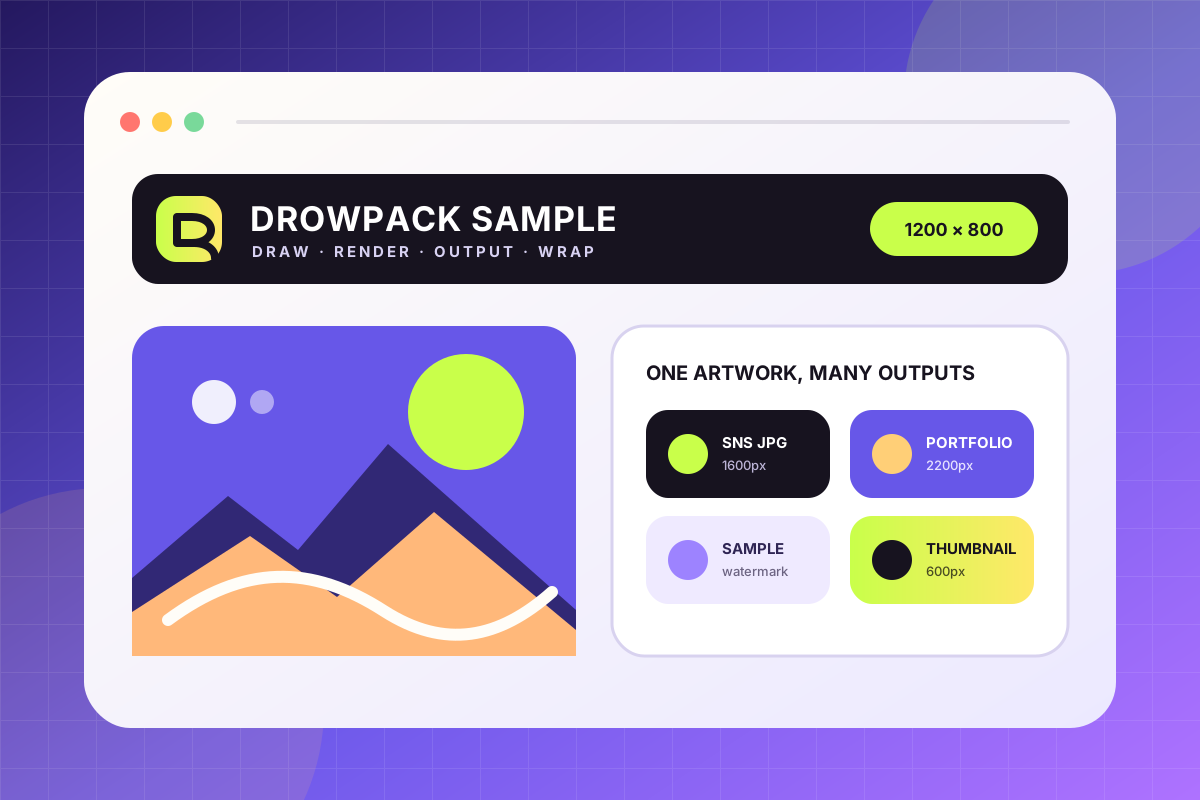
Load the 1200×800 SVG in the tool, set quality to 94, and enable high-quality resize.
| Output file | Reproduced dimensions | Quality | Watermark |
|---|---|---|---|
artwork_social.jpg | 1200×800px | 94 | None |
artwork_portfolio.jpg | 1200×800px, no upscaling | 96 | None |
artwork_sample_watermark.jpg | 1200×800px | 90 | Diagonal SAMPLE |
artwork_thumbnail.jpg | 600×400px | 88 | None |
The 1600px and 2200px values are maximum long edges, not dimensions that every output is forced to reach. DrowPack does not enlarge a smaller source, so the 1200×800 sample stays 1200×800 for the social and portfolio files. Only the thumbnail exceeds its 600px limit and is reduced to 600×400.
The pixel dimensions, quality inputs, and watermark state can be reproduced with these settings. The JPEG byte size cannot be stated as a fixed KB or MB value because it may vary with the browser and version's image encoder and color handling.
Open DrowPack and reproduce the package with the built-in sample →
Why resizing is based on the long edge
Forcing portrait and landscape art into one fixed resolution can distort or crop one direction. DrowPack calculates the scale from whichever dimension of the current canvas is longer.
- It reads the current canvas dimensions. If you have applied a resize, the modified canvas becomes the source.
- It finds the longer of the width and height. When that value is less than or equal to the output limit, the current size is preserved.
- It calculates a scale only when the limit is exceeded. The same ratio is applied to width and height, preserving the aspect ratio.
- It draws according to the high-quality resampling option. For a large reduction, progressive downscaling through intermediate sizes can reduce edge loss.
The package does not reread the originally uploaded file. It starts from the canvas currently shown in the preview. If you have applied AI editing or a manual resize, that result is also reflected in all four JPG files.
A practical way to choose the quality slider
Raising JPG quality to 100 makes files larger, but it does not make every image visibly better. Flat colors and thick lines are relatively stable under stronger compression, while small type, fine lines, and textured art may show blocks or ringing first.
| Source characteristics | Suggested starting value | What to inspect | How to adjust |
|---|---|---|---|
| Thick lines, simple color fields | 88–92 | Artifacts around outlines | Lower it to save space if the result stays clean |
| General illustration | 92–95 | Eyes, hair, and small decorations | Raise by 1–2 when details break down |
| Poster with text | 94–97 | Small letter strokes and high-contrast edges | Compare a PNG export if type looks soft |
| Photography and gradients | 90–94 | Smooth changes such as skies and skin | Raise gradually if banding appears |
The quality value is an encoder input, not an absolute score. Make the final choice by viewing the output at its real use size. For a 600px thumbnail in particular, a readable silhouette and strong contrast in a list matter more than how it looks when enlarged.
Five steps before creating the package
- Confirm the rights and the final artwork. Select only an image you created or have permission to use.
- Preview any transparent background. JPG cannot preserve transparency, so check that the final background color is intentional.
- Check the canvas dimensions. For an excessively large source, use aspect-ratio-preserving resize to set a practical working size first.
- Choose quality and create the ZIP. Start with the default, then compare one or two representative small details.
- Open each of the four files in the ZIP. Check its name, pixel dimensions, sample watermark, and thumbnail readability.
Post-download review checklist
- Do all four files have the same aspect ratio as the source?
- Was the portfolio file left at its source size instead of being enlarged unnecessarily?
- Is the sample watermark visible without completely covering the artwork's focal point?
- Is the subject immediately readable when the thumbnail is viewed at 100%?
- Are JPG artifacts around thin lines and small type within an acceptable range?
- Have you removed any private layers, personal information, or signature that should not be published?
A platform's recommended resolution can change. DrowPack's four outputs are general-purpose presets designed to reduce repetitive exports. If your destination requires specific pixel dimensions, follow that destination's specification first.